With Unity 4.0 just around the corner and a whole new slew of awesome features I wanted to touch on one of the awesome features that Unity added in 3.5, built-in pathfinding. I am going to show you how to really quickly set it up and get some basic AI movement going in your game. Pathfinding is typically created by the AI programmers on the team, but the new built-in system allows for anyone on the team to put rudimentary pathfinding into any game. This is especially handy for designers for quick prototyping.
For those unfamiliar with what pathfinding is, put simply it allows for AI driven characters to move to designated goals. For instance, you would need to use pathfinding for enemies that need to traverse a level in order to attack a character.
Some Quick Notes before I get started:
- This feature is only available in the Unity Pro Version.
- When I refer to “Agent” I am talking about the object that will be utilizing the navmesh.
- When I refer to “Target” I am talking about the destination that the agent is trying to get to.
- Think of the agent as the enemy in the game and the target as the player the enemy is trying to attack.
- I have created a Unity package for this whole project so you can see exactly what I am talking about.
- Download here PathfindingExampleUnityPackage
Setting up the Navmesh
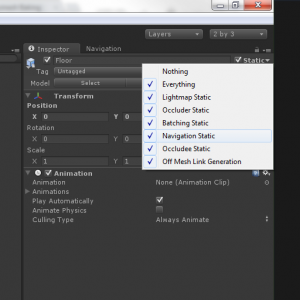
- Select the Mesh that you want the your agent to be able to navigate across and make sure that it is set to “Navigation Static”.
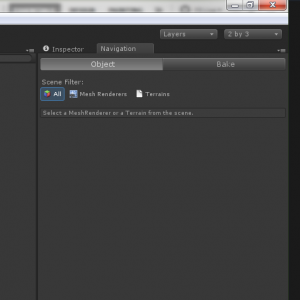
- Open Navigation window. Window -> Navigation.
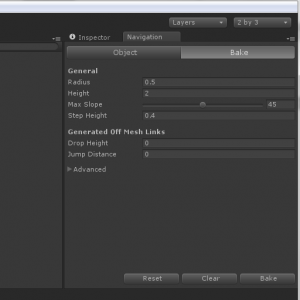
- Click on the Bake section, leave defaults and select “Bake”. More information on the Bake setting can be found here, in Unity’s documentation, but for the purposes of this demonstration the defaults will work fine. Navmesh Baking Documentation
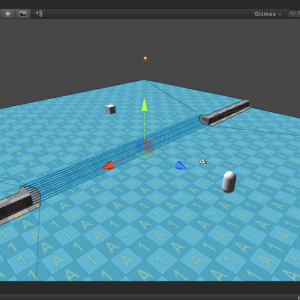
- Once the bake completes you should now see a blue highlight on the mesh you selected as Navigation Static. This indicates the area that the Navigation agent can move on.
Setting up the Agent and Target
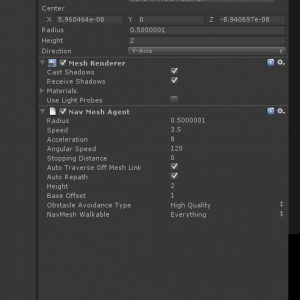
- Select the agent in the scene that you want to use the Navmesh and add the “Nav Mesh Agent” component to the object. Component -> Navigation -> Nav Mesh Agent. Again, the settings can be left at their defaults, more details on each setting can be found in Unity’s documentation Navmesh Agent Documentation
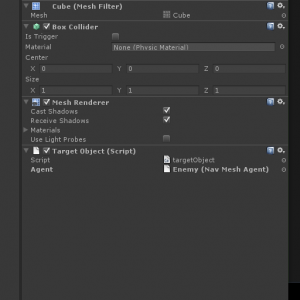
- Select the target that the agent is going to go to and add the targetObject.cs script to the target object and assign the agent object in that script. targetObject.cs is a super simple script that tell the agent where target is and goes to it. Here is what targetObject.cs looks like:
using UnityEngine;

using System.Collections;

public class targetObject : MonoBehaviour {

public NavMeshAgent agent;

void Start () {

agent.destination = transform.position;

}

void Update () {

agent.destination = transform.position;

}

}
- Hit “Play” and you will see the agent move towards the target.
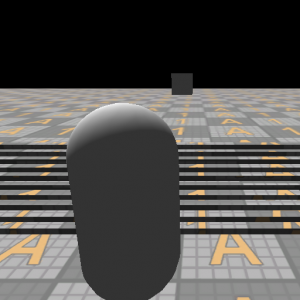
Pretty simple huh? Now as I said this is just the basics of Unity’s built-pathfinding, you are also able to have your agent perform other actions with this system like jump. If you download the example project I created, you’ll notice that if you move the target so that the agent has to move from the higher platform to the lower, no matter where the target is the agent will always take the stairs. This is because I have not yet set up areas for the agent to jump from but I’ll save that for a future blog post.
Hope you enjoy!

Pingback: Basics of How to Use the Built-in Pathfinding in Unity 3.5 Part 1 | MikeLikesGames